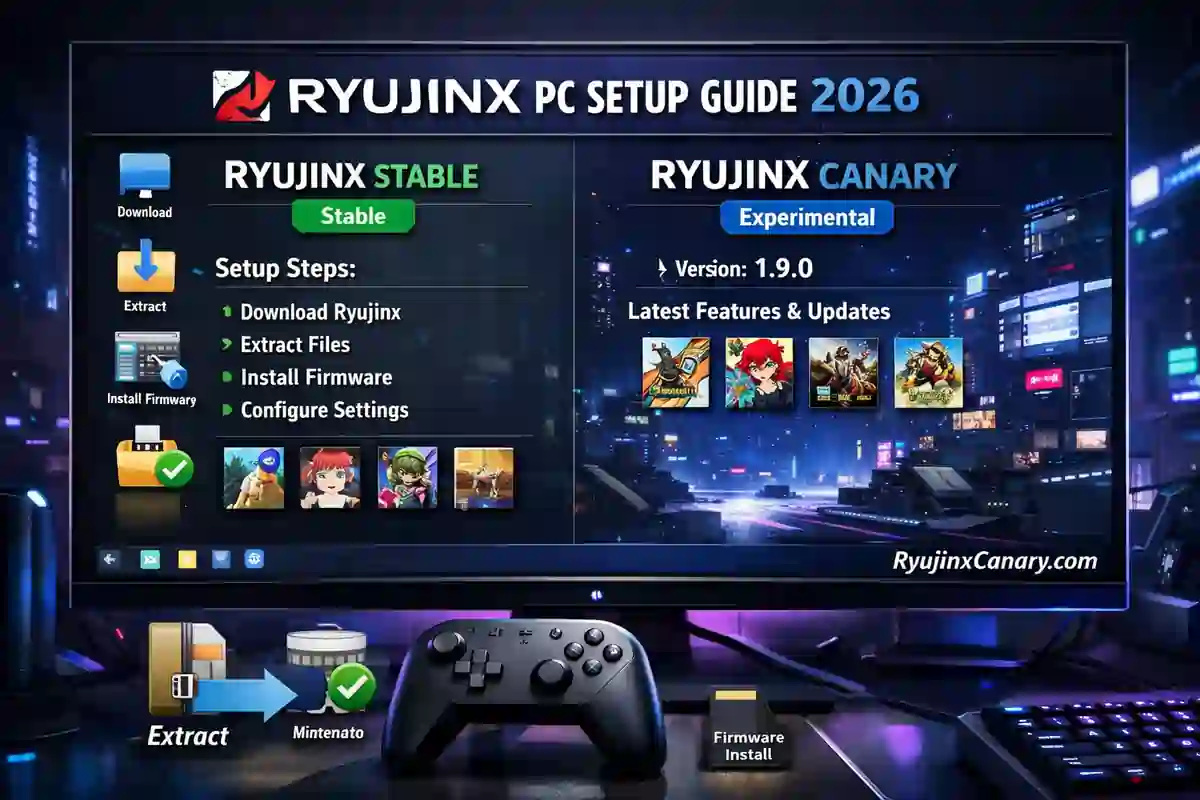
Ryujinx is a popular open-source Nintendo Switch emulator for Windows PCs. It works well on both Windows 10 and Windows 11. Users can choose between the Stable version and the Canary version. Stable focuses on reliability and fewer problems. Canary gets faster updates and new features more often.
The setup process is simple once you understand the steps. This guide explains everything from downloading Ryujinx to improving game performance.
System Requirements
Your PC should have at least 8GB RAM, a modern CPU, and a graphics card that supports OpenGL 4.5 or Vulkan.
High-end gaming PCs with NVIDIA or AMD GPUs and 6GB or more VRAM can run many games at 2x to 4x resolution. Gaming laptops usually perform well with Vulkan because it gives a good balance between graphics and performance.
Low-end PCs should stay at 1x resolution and use OpenGL for better stability. Handheld gaming PCs like the ROG Ally should use the Windows x64 build.
Downloading Ryujinx Safely
Always download Ryujinx from trusted sources. The safest option is the official Ryubing website at RyujinxCanary.com.
Open the Stable or Canary releases page and download the Windows x64 .zip file. Use ARM64 only if your Windows device uses ARM hardware. You can download both versions from the download page.
Current versions include Stable 1.3.3 for reliability and Canary 1.3.308 for newer features and faster updates.
See the Ryujinx Canary vs Ryujinx comparison to understand the differences between both versions.
After downloading, extract the files to a simple folder like C:\Ryujinx. Avoid using Program Files because Windows permissions can sometimes cause problems.
Also Read > Ryujinx Canary Safe Download 2026 – Official Guide
First-Time Setup
Open Ryujinx.exe after extraction. Windows SmartScreen may show a warning message. If this happens, click “More info” and then select “Run anyway.”
Ryujinx may also ask you to install the .NET Desktop Runtime. Install it if needed before continuing.
Step 1: Add Prod.Keys and Title.Keys
Prod.keys and title.keys are required for game decryption.
In Ryujinx, go to:
File > Open Ryujinx Folder > system
Copy the prod.keys and title.keys files into the system folder.
Some Ryujinx versions also include an “Install Keys” option inside the Actions or Tools menu.
Restart Ryujinx after adding the keys.
Step 2: Install Firmware
Firmware is needed for many Nintendo Switch games.
Download a firmware version that matches your keys. Most users use firmware 18.0 or newer.
In Ryujinx, open:
Tools > Install Firmware
Select the firmware .zip file or the extracted firmware folder.
Restart the emulator after installation.
Step 3: Add Game Directories
To add your games, open:
Options > Settings > Game Directories
Click Add and select the folder that contains your .nsp or .xci game files.
Click Apply and then OK.
Your games should now appear in the Ryujinx library.
Also Read > How to Add Games in Ryujinx Canary (2026 Easy Guide)
Graphics and Performance Settings
Ryujinx includes several graphics settings that can improve performance and image quality.
Go to:
Options > Settings > Graphics
Vulkan is usually the best option for NVIDIA and AMD GPUs because it provides better performance in many games.
OpenGL may work better on older PCs, Intel graphics, or games with Vulkan problems.
Start with 1x resolution if you are unsure about performance. Stronger PCs can increase the resolution scale to 2x or higher for sharper graphics.
Enable Asynchronous Shader Compilation to reduce stuttering during gameplay.
Explore these graphics enhancements to improve visual quality even more.
Shader Cache Tip
During the first playthrough, Ryujinx builds shader cache files. This can cause small freezes or stuttering.
Performance usually improves after the shader cache is complete.
If problems appear later, right-click the game and clear the shader cache.
Controller and Input Setup
Ryujinx supports Xbox controllers, PlayStation controllers, and generic USB controllers.
Keyboard controls also work well for testing.
To set up controls, open:
Options > Settings > Input
Select Player 1 and choose your controller.
After mapping the buttons, save the settings and test them in-game.
DLC, Updates, and Save Files
Ryujinx supports game updates and DLC files.
You can install them through the built-in installer or place them in the correct game folders.
Save files are stored automatically inside the Ryujinx folder.
Optimization Tips
Keeping GPU drivers updated can improve performance and stability.
Close unnecessary background applications before playing.
If FPS is low, lower the resolution scale and disable VSync.
High-end PCs can also try 4K resolution and anisotropic filtering for better image quality.
Canary builds may provide better performance, but they can sometimes be unstable. Many users test Stable first before switching to Canary.
Also Read > Ryujinx Stable vs Canary: Performance Test & Real Results
Common Troubleshooting
If you see a missing keys error, check that the keys are inside the correct system folder and restart Ryujinx.
If games show a black screen, try switching between Vulkan and OpenGL, updating the firmware, or clearing the shader cache.
Startup crashes can sometimes be fixed by running the emulator as administrator, reinstalling the .NET Runtime, or deleting the config folder for a fresh setup.
Low FPS and stuttering can often be improved by enabling async shaders, lowering graphics settings, or updating Ryujinx.
If your controller is not detected, check the Input settings and confirm that Windows recognizes the device.
Audio crackling may improve by changing audio backends inside the settings menu.
Firmware mismatch problems usually happen when the firmware, keys, or game version are not compatible.
Final Tips
Back up your Ryujinx folder before installing updates. This makes it easier to restore settings and save files if problems happen.
For daily gaming and better stability, many users prefer the Stable version.
For newer games and the latest performance improvements, many users choose Canary.
When Ryujinx is set up correctly, it provides excellent Nintendo Switch emulation on PC.
The most important parts of the setup are adding the correct keys and firmware.
Once everything is working properly, you can enjoy smooth gameplay, better graphics, and many customization options on your Windows PC.
Also Read > How to Play Tomodachi Life: Living the Dream on PC with Ryujinx