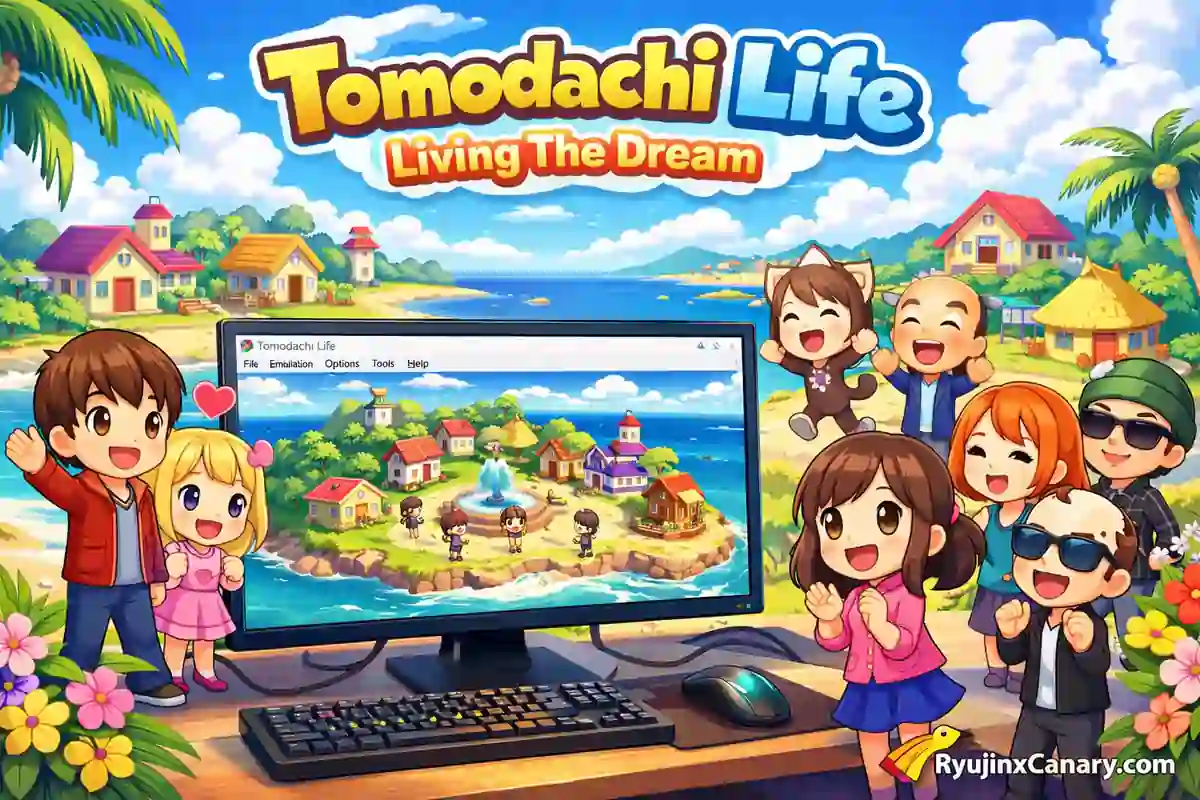
Tomodachi Life: Living the Dream released on April 16, 2026, for Nintendo Switch. Many players now want to play it on PC for better graphics, smoother gameplay, and easier controls. Ryujinx is one of the best Nintendo Switch emulators for this.
This guide explains the full setup process in a simple way for beginners.
Why Play Tomodachi Life on PC with Ryujinx?
Playing on PC offers several advantages over the original Nintendo Switch version.
You can play the game at higher resolutions like 1440p or even 4K. The game also looks sharper and cleaner on larger monitors. Many PCs can run the game at a stable 60 FPS, which makes gameplay feel smoother.
Ryujinx also supports mods. Players can install texture packs, quality-of-life improvements, and other custom content. Loading times are usually faster when the game is stored on an SSD.
Another benefit is controls. You can use a keyboard, Xbox controller, PlayStation controller, or Nintendo Switch controller. Playing on a larger screen also makes the experience more comfortable during long sessions.
Also Read > Ryujinx Canary Input and Controller Setup Guide
Legal Warning
You must legally own the original Nintendo Switch game before using it with Ryujinx. This guide is only for users who dump their own game files from their personal Nintendo Switch console.
Downloading game ROMs or files from the internet is illegal in many regions. Read the Ryujinx safe guide to learn more about using the emulator safely.
System Requirements
Ryujinx does not require an extremely powerful PC, but better hardware gives smoother performance.
For minimum requirements, you should use Windows 10 or Windows 11, an Intel i5 or Ryzen 5 processor, 8GB RAM, and a GTX 1060 or RX 580 graphics card.
For the best experience, Windows 11, an Intel i7 or Ryzen 7 processor, 16GB RAM, and an RTX 3060 or stronger GPU are recommended.
An SSD is strongly recommended because it improves loading times and overall performance.
Most players use Ryujinx Canary for newer games like Tomodachi Life: Living the Dream because it receives faster updates and compatibility improvements.
Also Read > Ryujinx Canary vs Ryujinx
Step 1: Download and Install Ryujinx Canary
Visit the official Ryujinx Canary website and download the latest version. You can also use the download page directly.
After downloading the ZIP file, extract it into a new folder. Open the folder and run Ryujinx.exe from the publish directory.
When Ryujinx starts for the first time, it automatically creates all required folders. Follow the Ryujinx PC setup guide for step-by-step instructions.
Step 2: Add Firmware and Keys
Ryujinx needs firmware and prod.keys files before games can run.
You must dump these files legally from your own Nintendo Switch console.
Inside Ryujinx, open the File menu and choose Install Firmware. Select your firmware file and complete the installation.
Next, copy the prod.keys file into the Ryujinx system folder.
Firmware version 18.0.0 or newer is recommended for the best compatibility.
Step 3: Add the Game
Dump your game as either an .XCI or .NSP file.
In Ryujinx, open File > Add Game Directory and choose the folder that contains the game file.
The game should now appear in the Ryujinx library. Right-click the game title and press Start to launch it.
Also Read > How to Add Games in Ryujinx Canary (2026 Easy Guide)
Step 4: Best Ryujinx Settings for Tomodachi Life
Good settings can improve graphics and performance significantly.
For graphics settings, Vulkan is usually the best option for most PCs. Set the resolution scale to 2x for 1080p or 3x for higher-quality visuals.
FXAA or SMAA anti-aliasing works well for cleaner edges. Anisotropic filtering can be set to 8x or 16x for sharper textures.
For CPU settings, keep accuracy on Normal and set Memory Manager Mode to Host (Fast).
Inside system settings, enable Multicore Scheduling and keep VSync turned on to reduce screen tearing.
These settings work very well on most mid-range gaming PCs.
Playing the Game
After setup is complete, you can create your Mii characters and start building your island.
The game runs smoothly on PC when configured properly. Players can also take screenshots and record gameplay easily with software like OBS Studio.
Controllers work very well with Ryujinx. Xbox, PlayStation, and Nintendo Switch controllers are all supported. Keyboard controls also work, but most players prefer using a controller for a more natural experience.
Installing Mods
Ryujinx makes mod installation simple.
Right-click the game inside Ryujinx and choose Open Mods Directory.
Create a new folder for each mod and place the mod files inside it.
Popular mods include improved textures, faster in-game events, and gameplay quality improvements.
Also Read > Ryujinx Canary Cheats Guide: How to Install and Use Cheats
Common Problems and Fixes
Some users may face small setup problems during installation.
If you get a missing keys error, check that the prod.keys file is inside the correct system folder.
If the game crashes on startup, update Ryujinx Canary to the latest version.
Low FPS can usually be improved by lowering the resolution scale to 1.5x and using Vulkan.
If the controller is not detected, restart Ryujinx or enable Steam Input.
For more help, check the Fixing Common Errors page for additional fixes.
Ryujinx vs Nintendo Switch
Ryujinx on PC offers several advantages over the original Nintendo Switch hardware.
| Feature | Nintendo Switch | Ryujinx on PC |
|---|---|---|
| Resolution | 720p handheld | Up to 4K |
| Frame Rate | Often 30 FPS | Up to 60 FPS |
| Mod Support | Limited | Easy and flexible |
| Save Backup | Cloud only | Direct folder copy |
| Portability | Excellent | Limited to laptop |
The Nintendo Switch is more portable, but PC gameplay offers larger screens, better graphics, and stronger controls.
Also Read > How to Play Tomodachi Life on iPad
Final Tips for Best Performance
Using an SSD helps reduce loading times and improves overall responsiveness.
Close unnecessary background applications before playing for better FPS and stability.
Back up your save files regularly to avoid losing progress.
Keep Ryujinx updated because newer versions often improve performance and game compatibility.
Tomodachi Life: Living the Dream feels excellent on PC with Ryujinx. The colorful graphics, funny characters, and life simulation gameplay look even better at higher resolutions.
After proper setup, many players prefer the PC experience for longer play sessions because of the smoother gameplay and improved visuals.